The npm blog has been discontinued.
Updates from the npm team are now published on the GitHub Blog and the GitHub Changelog.
How to Build A Slackbot + Deploy an App to Heroku for Absolute Beginners
Back in ye olde days of the internet, there was IRC (Internet Relay Chat), a chat network with channels and servers for every microcosm in the world. Folks would make these little bots or services — they’d greet you when you joined a channel, played trivia, Uno and other chat-based games with you. Unfortunately, if you wanted to make one yourself, you likely needed some knowledge of Perl, client-server architecture and a handful of Unix commands.
Today, most will opt for a more aesthetic alternative to IRC. Namely, Slack — a chat-based team communication tool. The best part? You can create a Slackbot with substantially fewer roadblocks.
I’ll try not to make assumptions on the technologies you may or may not have on your machine here. So let’s go ahead and start from scratch. If you already have any or all of following downloaded, you’re ahead of the game!
Setup
1. Install Node.js and npm
Mac
Go to nodejs.org, Click ‘install’, and run through the install process.
Ubuntu
You should be able to use the following:
curl -sL https://deb.nodesource.com/setup_0.10 | sudo -E bash -
sudo apt-get install -y nodejscurl -sL https://deb.nodesource.com/setup_0.10 | sudo -E bash — sudo apt-get install -y nodejs
More installation help at https://github.com/nodesource/distributions#deb
Windows
Go ahead the download the Windows binary
2. Create a Github account (https://github.com/) and download git (http://git-scm.com/download)
3. Clone this repository https://github.com/ceejbot/LOUDBOT-SLACK by using the following command in your terminal:
git clone git@github.com:ceejbot/LOUDBOT-SLACK.git
4. Create an account and download Heroku on your machinehttps://toolbelt.heroku.com/
Pheew. Now that we have all that installed, on with the tutorial!
Add Slack Tokens to Our App
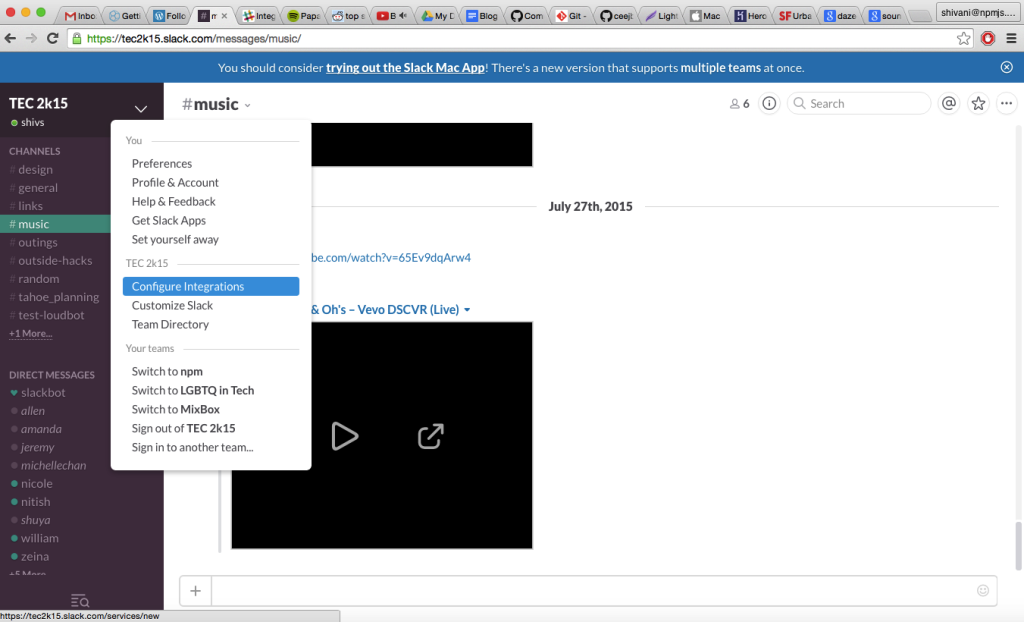
1. Go into your Slack group, click on the caret and then “Configure Integrations” in the dropdown
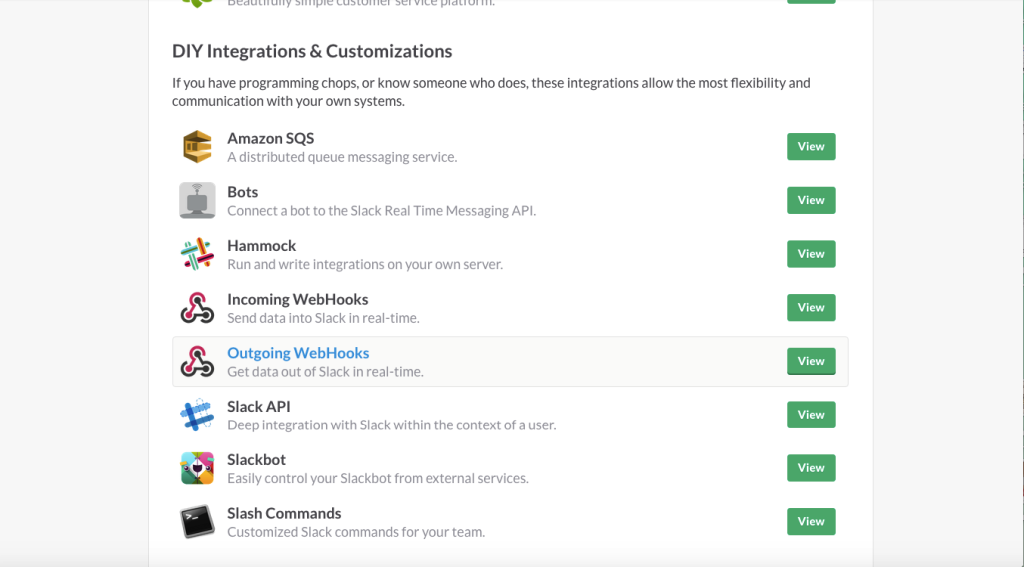
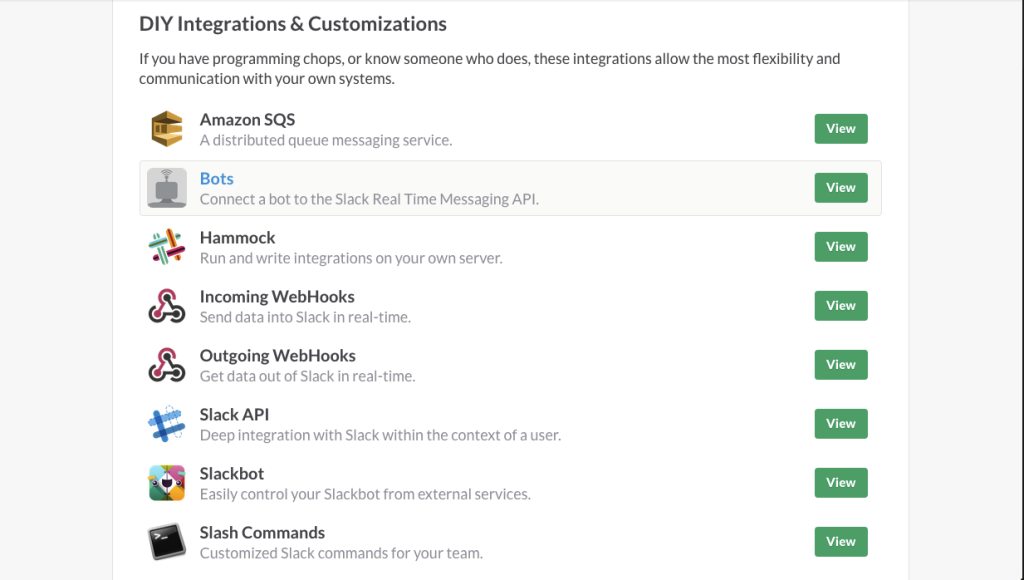
2. Under ‘All Integrations’ → ‘DIY Integrations & Customizations’, click on ‘Outgoing WebHooks’
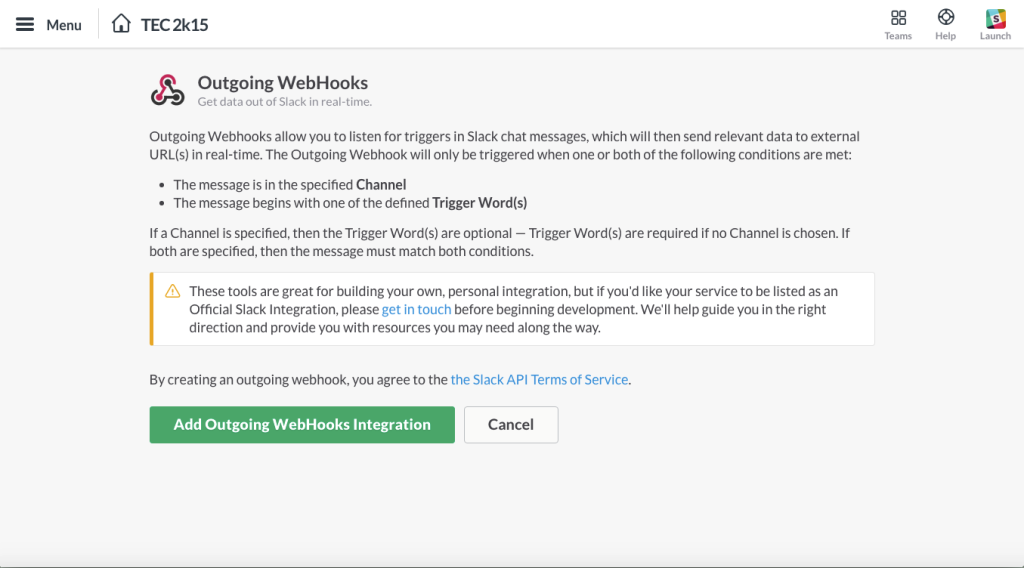
3. The next screen should look like the following. Go ahead and click on ‘Add Outgoing WebHooks Integration’
4. Set the channel to the specific channel you would like your slackbot to be active on, and copy the corresponding token (Rest assured, we’ll be able to add our slackbot on multiple channels. We’ll get to that in a bit)
5. Open a terminal and navigate to the directory you cloned and use the following command to create your own file to store environment variables. You should note that your .gitignore includes this .env file.
cat .env.example > .env
6. Next, using a text editor of your choice, open the loudbot directory
7. Open .env and replace the contents of TOKENS with the token you copied from slack. Now I’d promised you could add loudbot to multiple channels. To do this, repeat the above steps to add outgoing webhook integrations for as many channels are you would like. Just remember to copy the corresponding tokens into the TOKENS list in .env.
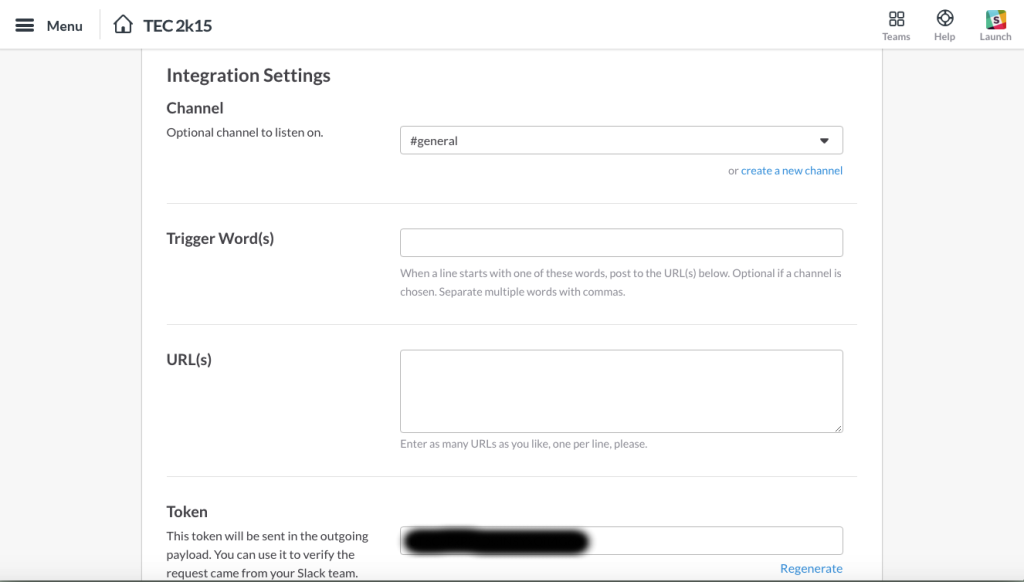
8. To complete the SLACK_TOKEN field, we’ll have to revisit the Slack ‘Configure Integrations’ page. Under ‘DIY Integrations & Customizations’, there should be a service called ‘Bots’
9. Create a new Bot, name it ‘LOUDBOT’ and copy the ‘API TOKEN’ under Integration Settings into the SLACK_TOKEN field in your .env file.
Deploy Our Slackbot to Heroku
1.Next we need put loudbot on a server so it can constantly be listening and responding to our Slack messages.
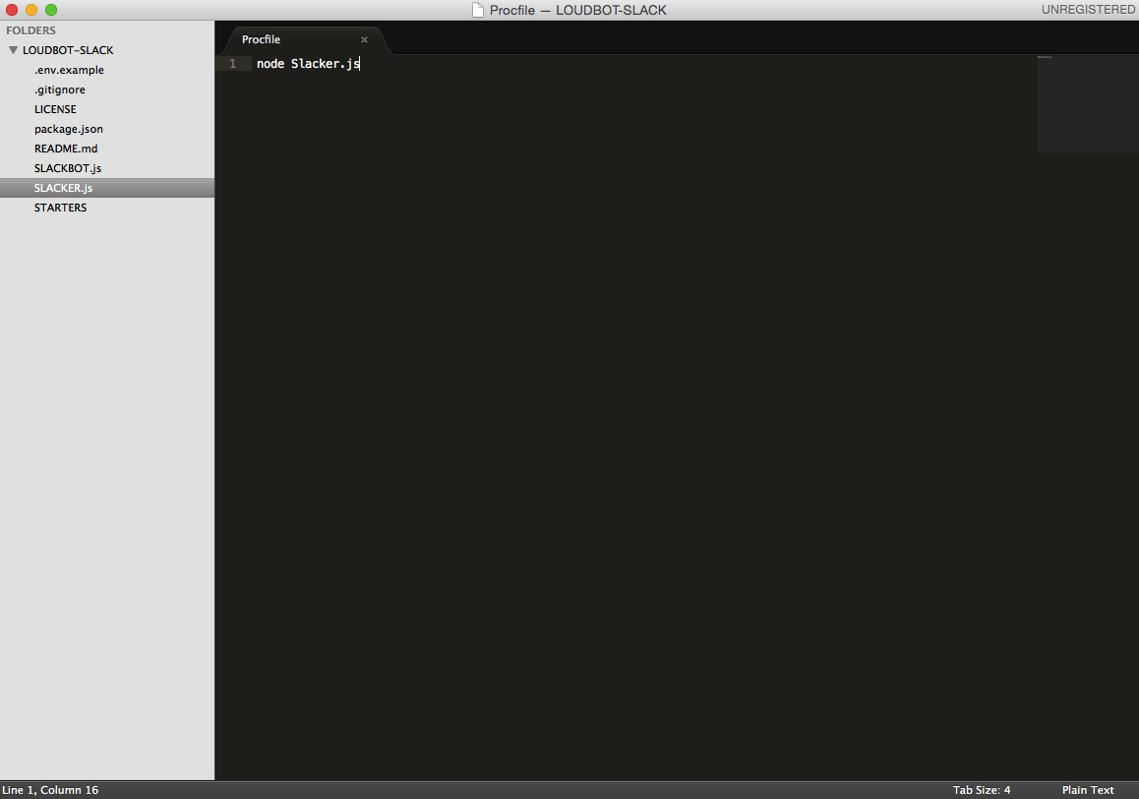
2. Create a file entitled ‘Procfile’ without a file extension. This is the file that tells Heroku what commands to use to run your application. The contents of the file are a single line that should be the following:
3. Finally, in your terminal, within your loudbot repository, run the following Heroku commands.
heroku create
This will create a new heroku app (note you can only have a max of 5 heroku apps on the free plan). Git remotes are references to remote repositories and this command will also create a git remote you can reference as ‘heroku’ on the command line.
git add
git commit -m "my commit message"
These are git commands for that’ll help track your changes to the app. They will commit your changes to your local directory, in preparation for deploying your app to Heroku.
git push heroku master
This will actually push your app to Heroku.
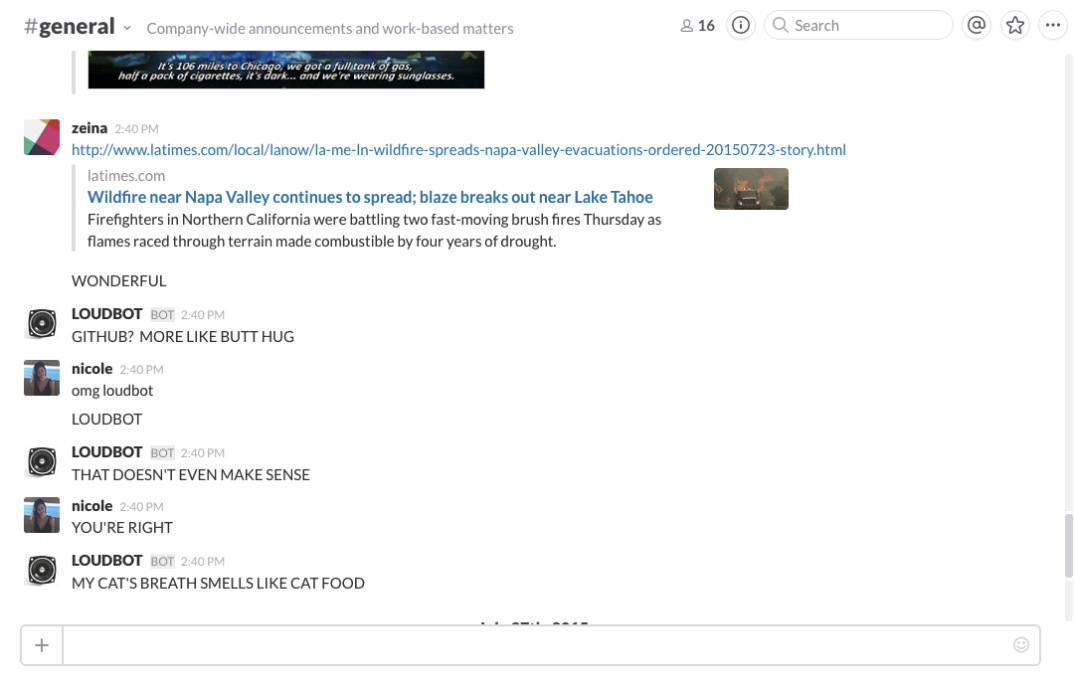
And there you have it — your app is live. LOUDBOT learns from your shouting and you can talk with LOUDBOT in any channel it is active in using all-caps. Enjoy!